

Hello! How was everyone's February? Unfortunately, I was a no show for the whole month. I have been organizing, but I was lacking any complete projects to write about. Until today! My craft room, or as I like to call it, my scrap/wrap room, is pretty much complete! I am sure there will be tweaks here and there as I use it and make changes accordingly. It has been a long time coming. I actually didn't even realize that I needed this space until my wrapping supplies were getting out of hand. I had some in our laundry room in an over the door organizer, some in my desk area and some in the basement. Since I do the majority of my wrapping at Christmas time, and I keep everything hidden in the basement, I figured I should make a space down there that is dedicated to my wrapping supplies. I have also very recently started scrapbooking using the Project Life brand. I heard about it and got many of my ideas for this space from Toni at A Bowl Full of Lemons. You can read her post about it here. Her space is awesome and I am so happy to have come across Project Life. I realized that I would also need a space dedicated to scrapbooking. I organized my space to accommodate both my wrapping and Project Life supplies.
I will show you a few befores first. I wish I could post some side by side befores and afters, but I haven't gotten around to figuring out how to use my new Photoshop software yet. Let me try to explain where exactly my scrap/wrap room is located. Our basement is basically two large rooms. The side you first come into from the stairs is the man cave. Reclining chairs, TVs, a bar, a pinball machine, etc. All decked out in New York Giants stuff. There is a door from that room into the second half. Back there consists of my scrap/wrap space, my husband's weightlifting equipment, tools and storage. I would love to have a separate room specifically for my stuff, but this will be just fine. I am actually in love with what I have done and I try to get down there any chance I get.
WARNING: This post is VERY photo heavy.
This is what the space looked like when we moved in about 2.5 years ago.


We had a pipe leak on one side of the room which ruined the tiles. We had to rip them up and then my husband painted trim right on the floor and for awhile we had zebra looking black and white striped floors. I did paint over the stripes and it's much better! I also gave a facelift to an old framed pegboard and a wardrobe cabinet that the previous owner left here. So here are some more befores. This time with all of our junk in the space!


Ahh, pretty scary, right? This room has been a dumping ground for the longest time. While the storage and tool area still need some work, my little corner and the weight area are pretty much done. The whole space is 100x better and I am so happy. First I will show you some wide angles of the room so you can get a sense of where everything is and then I will go into detail on my scrap/wrap room! Yay!


And the coolest part of the space...

Isn't it fabulous?! I am so proud of myself and so in love! Let's see some close ups!
There are two desk spaces here. This is the one where I plan to do the majority of my scrapbooking. I have everything setup how I THINK I will need and use it. The setup may change as I actually begin using the space and figure out where I need things to be. The white shelf to the right of my desk is by Closetmaid and it's from Target. The plan is to keep all of my Silhouette Cameo (the machine sitting on top) supplies here. The over the door shelving is from The Container Store and I keep all of my Christmas gift bags there.


I found this cute magazine rack at Marshall's.


Among many of the ideas that I got from A Bowl Full of Lemons, one was to organize my stickers by categories in this cute heart container. You can find them in the kids decor department at Target. So cute!

The shelving system is the 5x5 Expedit with desk attachment. It's from IKEA and it's awesome! All of the boxes and flower containers are from Target. I keep all of my Project Life core kit cards in the flower containers.


The box for the large photos is from The Container Store.


The clear photo containers are from The Container Store and Michael's. Along the bottom row I keep our yearbooks and high school memorabilia, empty photo albums and empty picture frames just waiting to be used.

The left side of my Expedit is mainly for my wrapping supplies.


I have one drawer insert for the Expedit. In there I keep gift tags/labels and ribbon.


My greeting card organizer is from The Container Store.


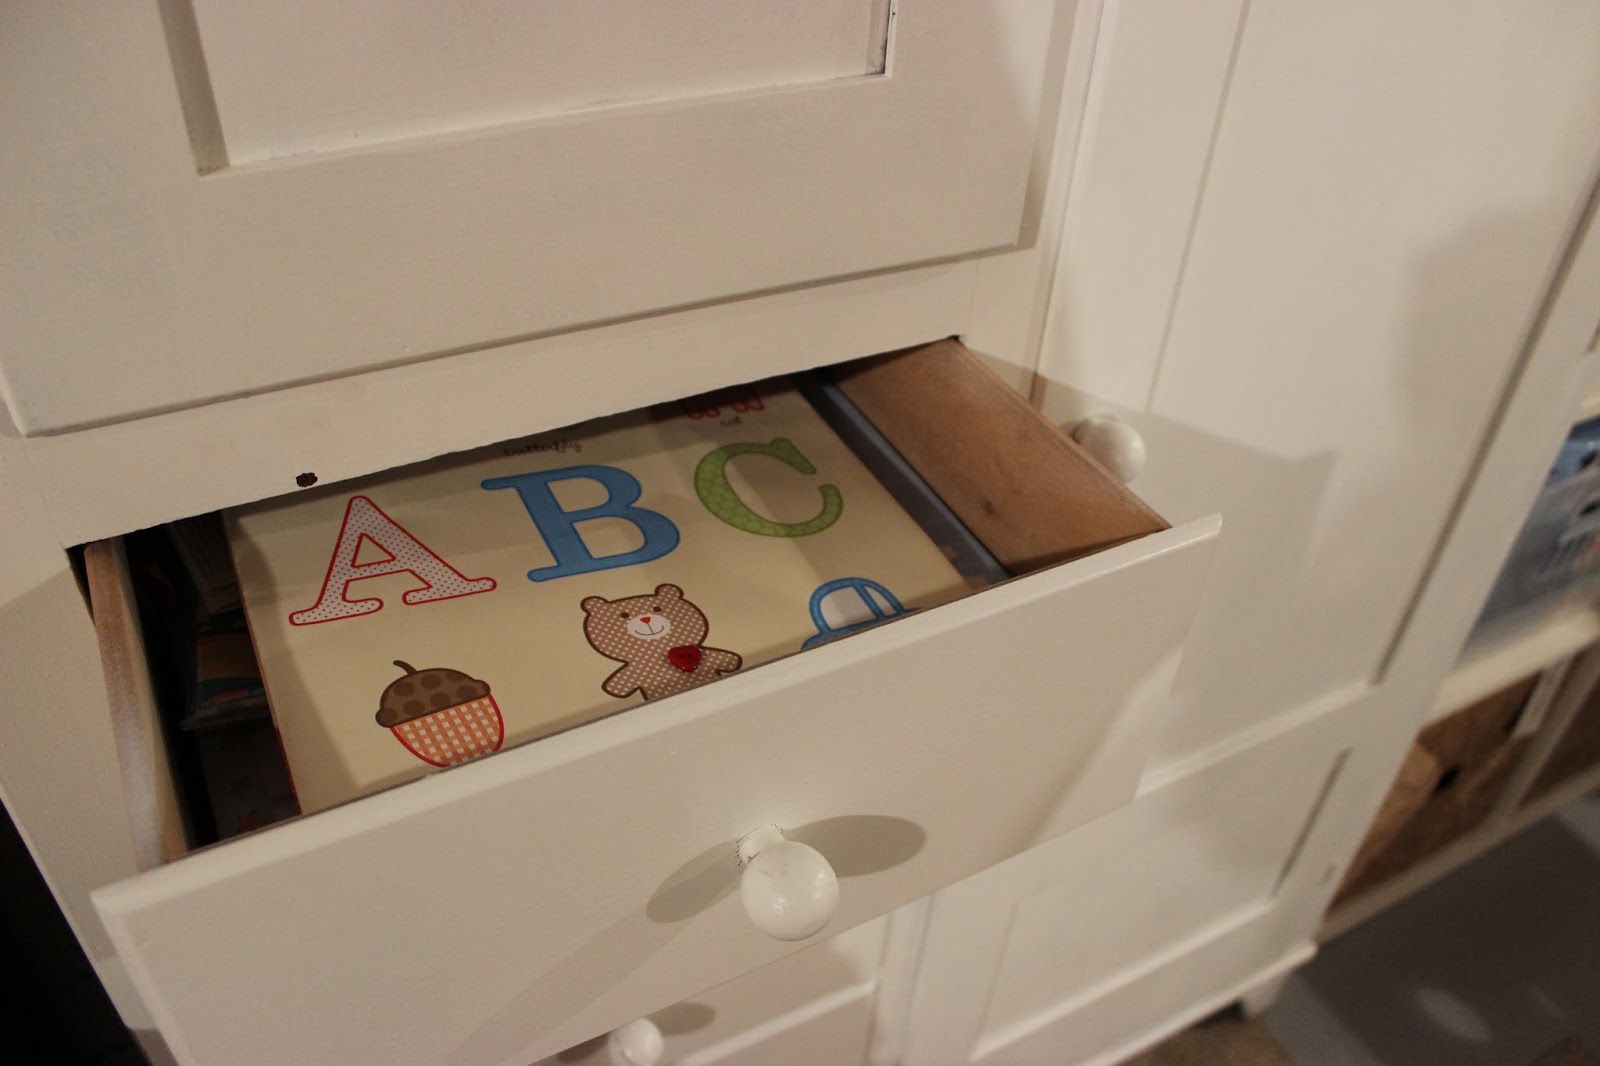
I use the wardrobe cabinet to keep all of my birthday, baby, wedding, love, Easter, etc gift bags. I also keep gifts in here. Throughout the year I tend to buy things in anticipation for future gift giving. This is a perfect spot for them!


Whew! That was a lot of photos to get through. I hope you were able to gather a good sense of how I organize all of my wrapping and scrapbooking supplies. There is still more I would like to do with the space, but for the most part, it is done. Now you know why I didn't have time for any posts during February!
My SCRAP/WRAP room is done! Hooray!
Linking up to these amazing blogs!
It's beautiful! What an awesome feeling that must be
ReplyDeleteThank you so much! It does feel great because I spent a lot of time this past month, and sparingly for over a year, trying to get it situated.
DeleteIt is gorgeous. What I like is that it is un unfinished basement and you made it look beautiful. I am so inspired because it is just like mine.... before pictures I think are a bit more cluttered. Thank you for sharing.
ReplyDeleteThank you! I am so glad that you could find some inspiration! Good luck with your space!
DeleteWow! I'm totally inspired! Thanks for sharing - great ideas,
ReplyDeleteYou're welcome! I am glad you found some inspiration! That makes me so happy! :)
DeleteLOVE IT!!!! I am glad you posted all the pics. Gives me some ideas too. I have a wardrobe similar to yours but just can't bare to paint it...yet. I'm torn between the antique cherry vs. white. I don't think you said, but where is that pin board from?
ReplyDeleteThank you very much! Painting the wardrobe was no question for me. Only because it was left here from the previous homeowner, so there isn't any sentimental value. Plus it's in my basement, and I am going tor a light and bright atmosphere, so the dark brown just wasn't working. I also plan to put cute knobs on it or add some design. The pegboard was also left here by the previous owner. If you are going to make one on your own, I would just purchase a piece of pegboard and then frame it with some trim and then paint! Good luck! :)
DeleteO.M.G! I am super jealous of this space! I am dying to get my craft area done. We are in the middle of a remodel. My basement has also been my space and it is VERY cold and dark. You did a fabulous job! This made me realize I can incorporate everything together!I Would love for you to stop by my blog! www.robynslittlenest.com
ReplyDeleteI wish you could come and make my house beautiful! All like items aree together, but not pretty or stylish. Thanks for the inspiration.
ReplyDeleteYou are quite welcome! Thank you for stopping by. It makes me happy to know that I have inspired someone! :)
DeleteI really like your space! I hope you have been able to be super creative in it. My dream is one day to have my own craft room
ReplyDeleteSo amazing!
ReplyDelete